EN
EN

Press brake tooling is precision production equipment, yet many factories store it as if it were ordinary steel stock. Punches are leaned against walls, short segments are mixed in open bins, dies are stacked on unprotected shelves and operators walk across the workshop to assemble a set. The visible result is clutter. The deeper result can be damaged working surfaces, lost setup time, unsafe lifting, incomplete sets and inconsistent bending quality.
A storage project should not begin with cabinet color or drawer count. It should begin with the tooling inventory, the flow of a normal changeover and the risks created by weight, sharp edges, corrosion and uncontrolled movement. This guide explains how to choose among cabinets, carts and racks, create a point-of-use layout, build a maintenance loop and calculate an evidence-based return on investment. MIHARTING provides tooling-storage products, but final capacity, anchoring, handling and workplace safety requirements must be verified for the buyer’s actual inventory and facility.
A press brake tooling storage cabinet is a purpose-designed system that supports, separates, identifies and protects punches, dies and segments while keeping them accessible for safe setup and maintenance.
Unlike a general shelf, the storage system should prevent precision working surfaces from striking one another. It should keep long tools stable, stop short segments from migrating between sets, make identification visible and place heavy items at a practical handling height. It should also support the factory’s changeover sequence: select the job, retrieve the correct tools, move them to the machine, return them after cleaning and record any damage.
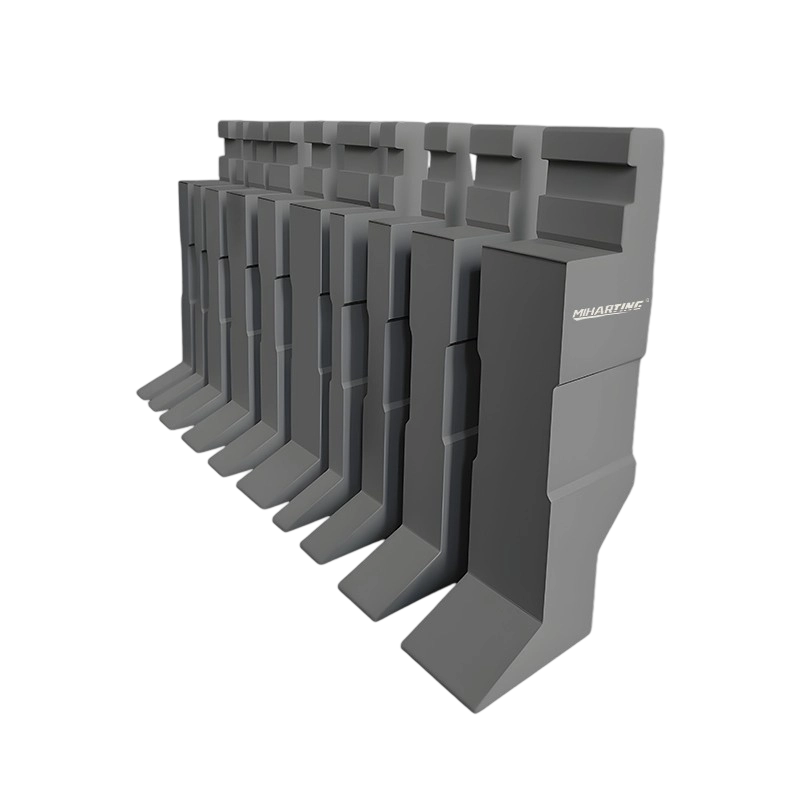
The correct solution may be a fixed cabinet, a mobile cart, a vertical rack or a combination. A fixed cabinet is useful for protected central storage. A mobile cart supports point-of-use delivery. A rack can provide high-density access to long tools. The decision should be based on tool dimensions, weight, frequency of use, travel distance, available floor space and the lifting method.
A tooling-flow map records every movement and decision from job release through tool retrieval, setup, production, cleaning, inspection and return.
Observe several real changeovers rather than relying only on a written procedure. Record where the operator receives the tool list, how the tool is identified, how far the operator walks, whether a crane or cart is needed, how segments are counted, where removed tooling waits and how damaged tools are reported. Include delays caused by searching, moving unrelated tools or discovering that a required segment is missing.
This observation separates necessary work from waste. Retrieving and installing a tool is necessary. Walking to three storage areas because a set is split is avoidable. Measuring every segment because labels are unreadable is avoidable. Cleaning rust from a tool immediately before use is avoidable. The storage design should remove these repeated problems rather than simply make the room look organized.
Use a simple current-state worksheet with time, distance and issues. Then sketch a future state in which the complete set is identifiable, accessible and returned through one standard path. The future-state map becomes the design brief for the cabinet, cart and labeling system.
Tooling classification groups tools according to the physical and operational characteristics that determine safe storage and retrieval.
Start with geometry. Separate long punches, long dies, short segments, horn pieces, gooseneck tools, radius tools, hemming tools, adapters and special profiles. Then record length, height, base width and weight. A tall gooseneck punch may need greater vertical clearance than a straight punch of the same length. A heavy multi-V die may require a cradle and lifting aid rather than a drawer.
Add frequency. Classify tools as daily, weekly, monthly or rarely used based on actual job history. High-frequency tools should be closest to the press brake and between knee and shoulder height when practical. Rare heavy tools can be placed in a more remote but mechanically accessible location. Obsolete or unidentified tools should not occupy premium point-of-use space; quarantine them for engineering review.
Finally, classify by machine compatibility and set identity. Tools that look similar but use different tangs or heights should be physically separated and clearly marked. Mixing incompatible segments is a quality and safety risk. The storage location should communicate the machine family before the operator touches the tool.
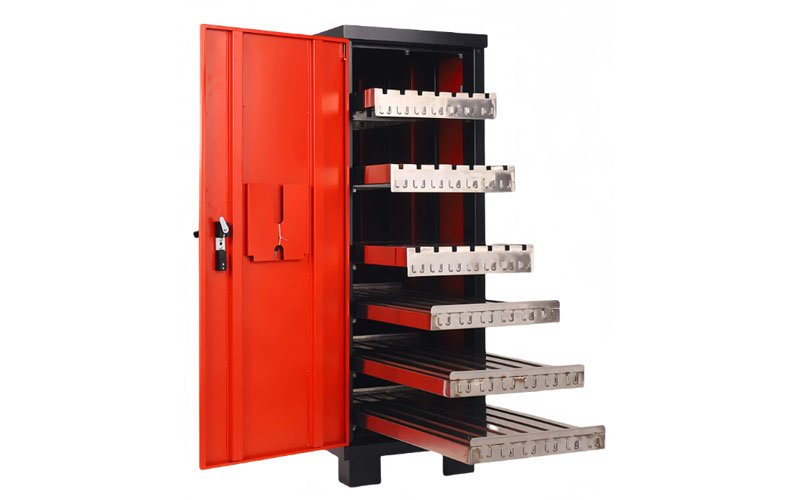
A cabinet protects tooling in an enclosed structure, a cart moves tooling to the machine, and a rack provides open or semi-open support for fast access and long profiles.
| Storage Type | Primary Strength | Main Limitation | Best Application |
|---|---|---|---|
| Fixed cabinet | Strong protection, controlled locations, compact organization | Tools must be transported to the machine | Central storage for standard and precision segment sets |
| Mobile tooling cart | Point-of-use transport and staged changeovers | Wheel, brake and stability design are critical | Frequent setups and shared tooling between nearby machines |
| Vertical rack | Efficient access to long punches and dies | Open exposure and tip-over risk if poorly designed | Long tools with defined slots and controlled lifting |
| Drawer cabinet | Excellent separation for short segments and accessories | Drawer load and extension can affect stability | Segmented sets, adapters, clamps and inspection tools |
| Hybrid station | Combines protected inventory with mobile job staging | Requires layout discipline and standard return rules | High-mix fabrication cells with many daily tool changes |
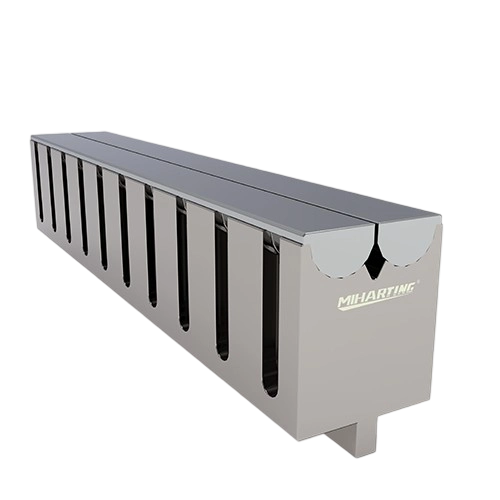
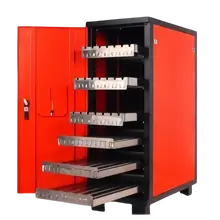
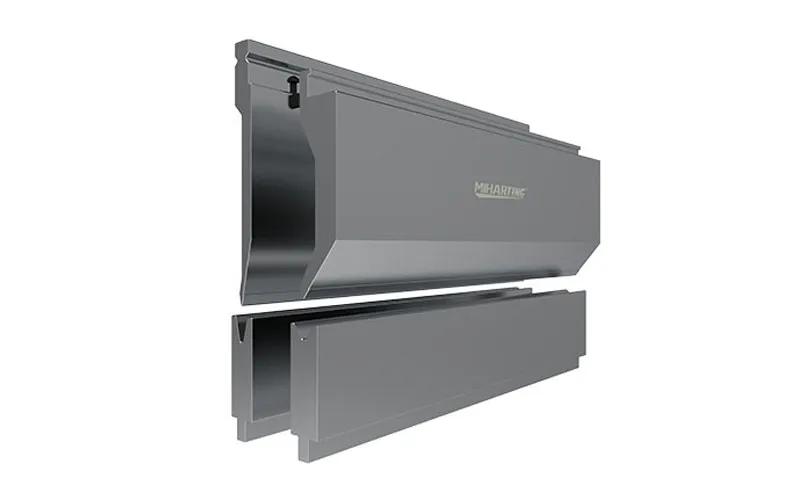
The MIHARTING press brake tool cabinet page illustrates dedicated storage concepts, but the buyer should treat the product page as a starting point. Confirm the usable slot dimensions, allowable load per level, total rated load, center of gravity, wheel capacity, brake arrangement, anchoring option and compatibility with the heaviest tool.
Storage load engineering verifies that every shelf, drawer, cradle, wheel and frame can safely support the intended tooling without sliding, collapse or tip-over.
Create a load schedule rather than estimating by appearance. List the weight of each tool and the planned location. Calculate the load per drawer or level and the total cabinet load. Add a reasonable allowance for future tools, but do not use that allowance as permission to exceed the published rating. The manufacturer should state whether the rating applies to evenly distributed load, a single slot, a complete drawer or the entire structure.
For drawers, consider the worst case when one or more drawers are extended. The center of gravity moves forward, increasing tip risk. Interlocks that allow only one loaded drawer to open at a time can reduce this risk. Fixed cabinets may need anchoring according to the manufacturer’s instructions and the facility’s floor conditions. Mobile carts require wheels rated for the complete loaded weight and brakes that hold the cart on the actual floor surface.
Heavy dies should rest in shaped cradles or on supports that prevent rolling and preserve the working shoulders. Long tools should be supported at enough points to avoid unstable overhang. Never depend on labels or training alone to compensate for a structure that can physically tip or release a tool.
Tool protection prevents direct contact, contamination and environmental exposure from changing the geometry or finish of precision bending surfaces.
Use dividers, lined slots, cradles or shaped supports so punch noses and die shoulders do not contact adjacent tools. The support material should be durable, oil-resistant and replaceable. Avoid loose padding that traps abrasive particles or hides moisture. The tool should rest on a noncritical surface whenever possible.
Clean tools before storage. Remove metal particles, adhesive residue and process contamination using an approved method. Apply a suitable light protective film when required by the tool material, treatment and storage period. Control water leaks, condensation and high humidity around the storage area. A cabinet does not prevent corrosion when wet tools are sealed inside it.
Create a visual standard for acceptable condition. A dirty tool, chipped edge, dented shoulder or damaged tang should be tagged and moved to a review location rather than returned to the normal slot. This prevents the next operator from discovering the defect during setup.
Human-centered storage places tooling where operators can identify, grip, lift and transfer it without awkward reach, trapped fingers or uncontrolled rotation.
Store the heaviest frequently used tools near waist height when the handling method permits. Place light short segments higher or lower. Do not position a heavy die where the operator must reach over another tool. Provide hand clearance around each piece and a defined gripping area that does not require contact with the working edge.
For long tools, decide whether they will be handled by one person, two people, a hoist, a lifting beam or a dedicated cart. The storage slot must allow the chosen device to approach and engage the tool. A rack that holds a die securely but blocks the lifting attachment creates a new hazard during retrieval.
Use stops or retainers that prevent tools from sliding out while still allowing controlled removal. Avoid sharp cabinet edges in the handling path. Where drawers are used, full extension may improve visibility, but the design must remain stable under load. Test the proposed arrangement with the actual operator team before finalizing a large purchase.
Point-of-use storage places the required tooling and accessories close to the press brake so that retrieval and return involve minimal non-value-added movement.
Not every tool belongs at the machine. The goal is to place high-frequency tools and job-staged sets close enough to reduce walking without crowding the operator area or blocking safety devices. A common model uses protected central storage for the full inventory and a mobile staging cart for the next job.
A point-of-use cart can support this workflow when the cart has defined positions, safe wheels, effective brakes and a route free of floor hazards. The broader press brake tooling storage plan should connect central inventory with job staging rather than treating the cart as an isolated purchase. Stage the complete next setup during machine cycle time when production conditions allow. Include clamps, adapters, protective film and setup documents so the operator does not make multiple trips.
Measure the walking distance before and after the change. Point-of-use storage is successful when it reduces motion and search time while maintaining clear access to controls, guarding, material flow and emergency routes.
A tooling identification system links each physical tool and storage location to a consistent code, dimensional record, machine family and maintenance history.
Use a code that operators can read quickly. Include tool family, profile, radius or V-opening, length and set number as appropriate. Avoid codes that require a separate spreadsheet to understand every basic feature. Mark both the tool and its storage location so a missing piece is visible.
Color can support machine-family recognition, but color should not be the only identifier because lighting, dirt and color-vision differences can reduce reliability. Add engraved, etched or durable printed labels. For short segments, label the container or slot and maintain a segment list showing the total set length.
A QR code or barcode can connect the tool to a drawing, load rating, inspection record, compatible machines and last maintenance date. The digital system should be simple enough to use during a real changeover. If scanning takes longer than searching a paper binder, adoption will be poor. Start with high-value sets and expand after the workflow proves useful.
A storage-and-maintenance loop ensures that every tool is cleaned, inspected, protected, recorded and returned to a controlled location after use.
Define the return sequence. The operator removes the tool, places it on a protected surface, cleans it, checks the working edge and interface, applies approved protection and returns it to the labeled position. Damage or unusual wear is tagged immediately. Maintenance personnel then decide whether the tool can remain in service, needs grinding or repair, or should be quarantined.
Maintenance intervals should reflect the application. Tool material, workpiece material, bend volume, surface condition, lubrication, load and handling all influence wear. Avoid a universal interval that ignores these variables. Use inspection findings and production history to set the schedule.
Store inspection aids close to the tool room: clean cloths, approved corrosion protection, radius gauges, basic measuring tools, tags and digital access to drawings. Separate clean inspection equipment from abrasive shop debris. The storage station should make the correct return process easier than the shortcut.
Storage ROI compares the investment with measurable reductions in searching, walking, changeover time, damage, scrap, replacement and production interruption.
Build the model from observation. Measure average time spent locating and assembling tools for at least ten representative changeovers. Record the number of changeovers per month, loaded labor rate and the portion of machine time affected. Add documented replacement or repair costs caused by collision, corrosion or lost segments. Do not count theoretical benefits that the new process will not actually capture.
Consider an illustrative example. A shop performs 120 tooling changes per month. Better storage and staging reduce average retrieval time from 12 minutes to 7 minutes, saving 5 minutes per change. That equals 600 minutes, or 10 hours, per month. At a combined labor-and-capacity value of $85 per hour, the time value is $850 per month. If the project costs $8,500 and all assumptions remain valid, simple payback from time alone is 10 months. This is an example, not a promise. Replace every value with verified local data and account for implementation, training and maintenance.
Do not double-count machine and labor savings when the worker can perform another task but the press brake is not actually waiting. A conservative model improves credibility and makes post-installation review possible.
Lifecycle cost includes purchase, installation, floor space, handling equipment, maintenance, expansion and the operational effects of the storage method.
| Cost Element | Low-Cost General Rack | Dedicated Cabinet | Hybrid Cabinet and Cart |
|---|---|---|---|
| Initial purchase | Lowest | Medium | Highest |
| Tool protection | Low to medium | High when slots are correctly designed | High in storage and during transport |
| Changeover support | Depends on location | Good for retrieval; transport still required | Strong for staging and point-of-use delivery |
| Expansion | Easy but can become uncontrolled | Modular if planned | Flexible when carts and locations are standardized |
| Primary hidden cost | Damage, mixing and search time | Unused capacity if inventory was not measured | Process discipline needed to return carts and tools correctly |
Choose the simplest system that controls the real risks and supports the real changeover flow. A sophisticated cabinet with poorly planned slots is less valuable than a basic engineered rack that fits the inventory, handling method and point-of-use process.
A four-week implementation sequence moves from inventory and risk control to layout, pilot use, standard work and measurable review.
Identify every tool, measure key dimensions and weight, assign it to a machine family and record frequency of use. Quarantine unidentified, damaged and obsolete tools. Observe current changeovers and establish baseline search, walking and setup time.
Select cabinet, rack and cart locations. Define load ratings, anchoring, lifting access and traffic routes. Design each slot around actual dimensions. Create the label code and digital record structure.
Install or mock up one section for a high-use press brake. Move a limited group of tools, train the operator team and run normal changeovers. Record retrieval time, handling issues and missing information. Adjust the design before scaling.
Complete the rollout, publish return and inspection procedures, assign ownership and photograph the standard condition. Schedule weekly audits during the first month, then reduce frequency when the process is stable. Track tool damage, missing segments and changeover performance.
The pilot is important because a drawing cannot reveal every handling problem. Operators should be involved before all cabinets are manufactured or anchored.
A purchasing specification translates the tooling inventory, load case, layout and workflow into measurable requirements for the storage supplier.
Tool types, quantity, lengths, maximum dimensions and verified weights.
Required number and size of slots, cradles, drawers and staging positions.
Rated load per slot, level, drawer, wheel and complete structure.
Fixed, mobile or hybrid configuration and required anchoring provisions.
Wheel material, diameter, floor compatibility, brakes and steering method.
Drawer interlock, stops, retainers and anti-tip requirements.
Surface finish, corrosion protection and replaceable contact liners.
Label holders, tool ID format and location numbering.
Hoist, fork, lifting-beam and operator access requirements.
Installation, inspection, documentation and replacement-part expectations.
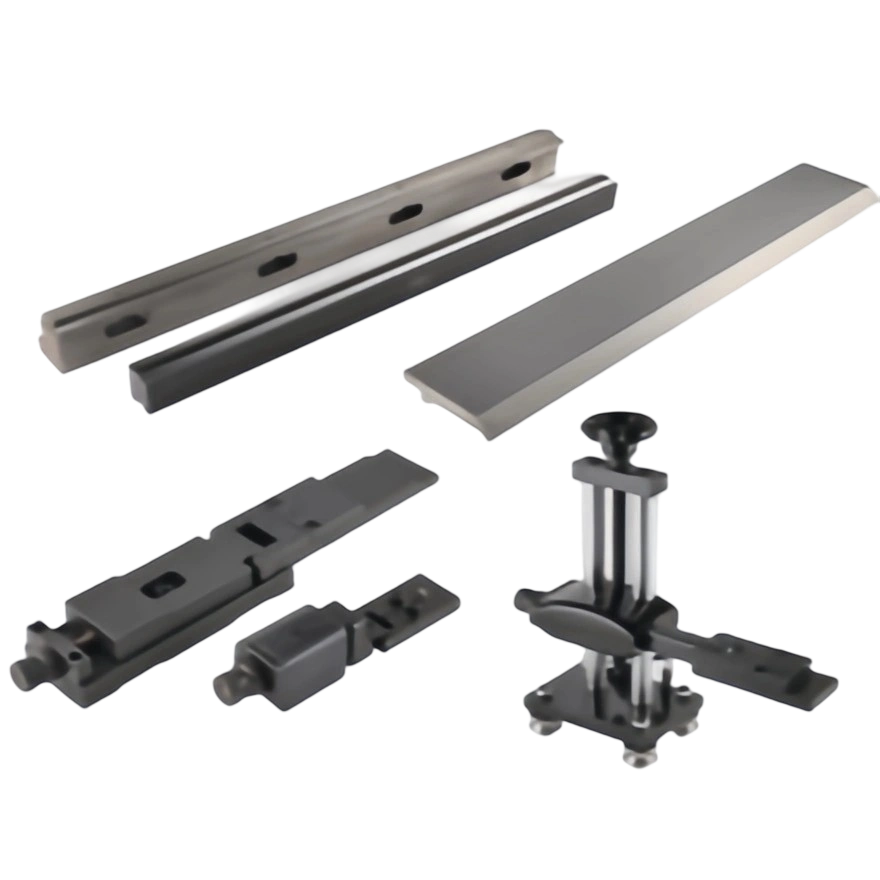
For an Amada press brake tooling cabinet or any other machine-family storage request, do not rely on the brand label alone. Provide actual tool dimensions and weights. Review the related press brake accessories needed for lifting, clamping, protection and staging, because independent tooling sets, adapters and special profiles may differ from the assumed standard.
MIHARTING can support a tooling storage project by reviewing tool dimensions, inventory structure, required mobility and the buyer’s preferred cabinet or rack configuration.
A useful inquiry includes photographs of the current storage area, a tooling list, the heaviest tool, the longest tool, machine locations and the intended handling method. State whether the priority is protection, space, changeover speed, mobile staging or a combination. Ask for dimensional drawings, rated loads and a clear statement of what is included.
Where MIHARTING supplies both tooling and storage, align the tool identification, segment list and cabinet location code. This creates a more controlled system for receiving, production and repeat orders. The storage unit should still be reviewed by the buyer’s safety and facilities teams before installation.
These questions address common storage, safety and purchasing decisions for press brake tooling.
It can be suitable only when load, stability, retention, surface protection and handling access are engineered for the actual tools. General shelves often lack shaped support and controlled separation.
Either orientation can work when the tool is fully supported, retained and safely handled. Long vertical storage saves floor space but needs strong anti-tip and retrieval controls. Horizontal cradles can protect heavy dies.
Use the factory’s tooling growth plan rather than an arbitrary percentage. Provide reasonable expansion while keeping high-use locations organized and within all rated loads.
Yes, when the cart, wheels, brakes, slots and route are rated for the complete load. The set must remain stable during movement and while tools are removed.
Tag and quarantine them immediately. Record the defect, tool ID and job. Qualified personnel should decide whether cleaning, regrinding, repair or replacement is appropriate.
Track retrieval time, walking distance, complete-set availability, missing segments, tool damage, corrosion findings, changeover time and operator safety observations before and after implementation.
A press brake tooling storage cabinet is valuable when it improves the complete tooling flow. The project should classify the inventory, engineer load and stability, protect working surfaces, support safe handling, reduce motion, simplify identification and connect storage with maintenance. Cabinets, carts and racks are tools within that system, not the system by themselves.
Before requesting a MIHARTING proposal, measure every critical tool and document the current changeover process. Provide weights, dimensions, frequency, machine locations, handling methods and the desired future workflow. A controlled pilot and conservative ROI model will help the factory choose storage that protects precision tooling and supports repeatable production.
These external sources provide independent context for storage safety, lean motion reduction and tooling maintenance.
https://www.osha.gov/laws-regs/regulations/standardnumber/1910/1910.176 — OSHA, handling materials and secure storage requirements.
https://www.lean.org/lexicon-terms/seven-wastes/ — Lean Enterprise Institute, motion and other non-value-added waste.
https://wilsontool.com/en-us/resources/proper-care-to-stay-ahead-of-tool-wear — Wilson Tool, tooling care and maintenance considerations.
 The Sheet Metal Maestro's Playbook: A Definitive Guide to Press Brake ToolingJuly 25, 2025When Metal Meets Its Match: The Science Behind Press BrakesPress brakes don't bend metal—they persuade it.view
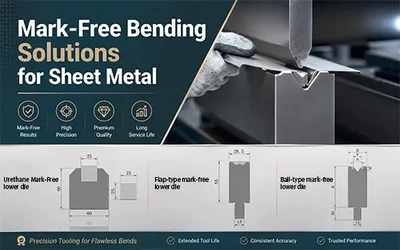 Mark-Free Bending Solutions for Sheet MetalJuly 27, 2026Learn three mark-free bending solutions for sheet metal: roller lower dies, urethane lower dies, and folding lower dies, including their best applications.view
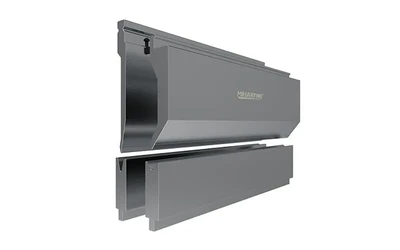 LVD Press Brake Tooling Compatibility Guide: Clamping, Segmentation and Upgrade DecisionsJuly 28, 2026An LVD press brake can remain productive for many years, but tooling decisions become more complicated when a factory adds new materials, inherits mixed tool sets, changes clamping systems or buys rep...view
 What Special Requirements Do Titanium Alloys and Composite Materials Have for the Design of Bending Machine Molds?June 26, 2025Titanium Alloy:1. Due to the high hardness of titanium alloys, mold design needs to consider the use of specially designed structures and processes to adapt to its bending characteristics. The choice ...view
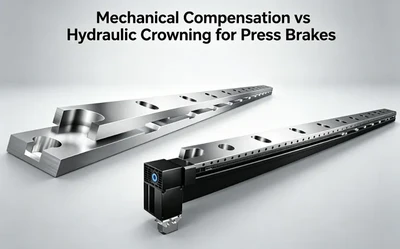 Mechanical Compensation vs Hydraulic Crowning for Press BrakesJune 11, 2026This article provides a detailed comparison of the differences, advantages, and application scenarios of mechanical, hydraulic, electric, and WILA crowning systems for press brakes, helping customers select the right system for their needs.view
 How to Bend Sheet Metal by HandJanuary 8, 2026Bending sheet metal by hand is a skill that can save time and money, and it can be essential for custom projects where machine bending isn't feasible. Understanding the correct tools required and ...view