EN

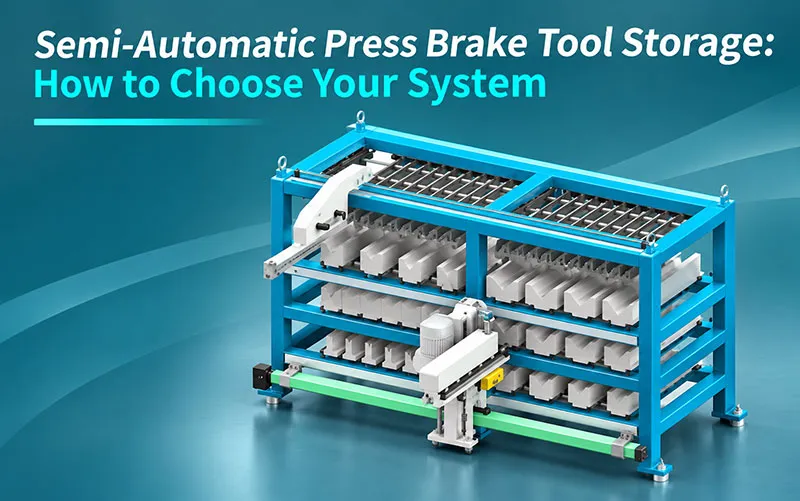
Frequent press brake tooling changes directly impact the production efficiency of a press brake. A semi-automated storage system can facilitate organized tool management and assist with handling operations.
When selecting such a system, it is essential to consider factors including tool dimensions, load limits, equipment access requirements, and your specific tool-changing workflow. Let’s take a closer look at semi-automatic press brake tooling storage.
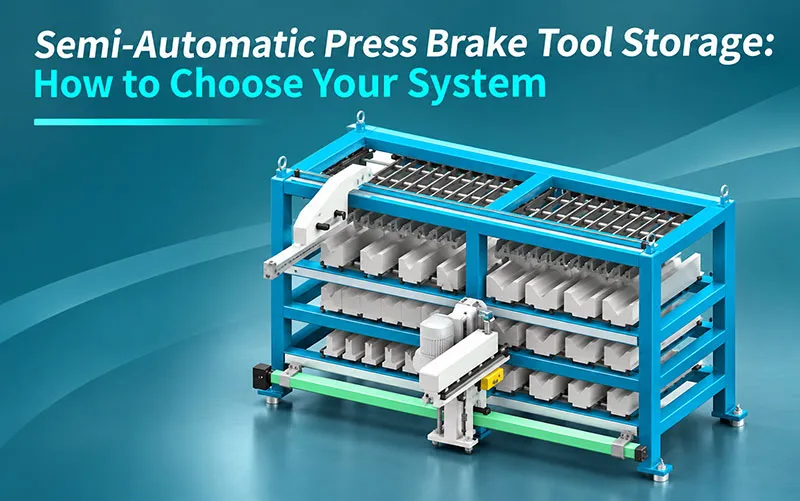
Start with your tooling inventory and the heaviest tools you need to handle. Check storage capacity, transfer assistance, machine alignment, and available space.
Ask your supplier to explain which movements are powered and which remain manual. Then test representative tools before accepting the system.
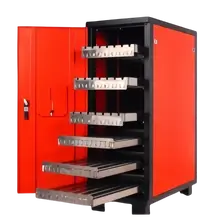
Semi-automatic press brake tool storage combines organized tooling storage with assistance for selected handling movements.
Depending on the design, the system may help position or transfer tools toward the press brake. Your operator still performs the tasks assigned to them during setup.
The exact functions vary by configuration. Ask for a demonstration of the complete changeover sequence before ordering.
A standard cabinet provides designated locations for punches and dies. A semi-automatic system adds handling assistance, depending on its configuration.
Selection Point | Standard Tool Cabinet | Semi-Automatic Tool Storage |
Main function | Organizes and protects tooling | Organizes tooling and assists selected handling movements |
Tool retrieval | Usually performed manually or with separate equipment | Depends on the selected assistance system |
Machine alignment | Tools are transported or carried to the machine | Transfer alignment should be checked for each machine |
Operator involvement | Required for retrieval and installation | Still required for specified setup tasks |
Best fit | Workshops prioritizing organized storage | Workshops handling heavy tools or frequent changeovers |
A standard press brake tool storage cabinet may suit your workshop when tools are light and changeovers are infrequent.
If handling heavy tooling slows production, compare the complete workflow with a semi-automatic option.
Your inventory determines the storage layout and handling requirements. Record the tools you use today and the additional capacity you expect to need.
Include:
Punch and die profiles.
Tool interface styles.
Length, height, and width of each tool or segment.
Maximum single-tool weight.
Quantity and frequency of use.
Holders, adapters, and special tooling.
Planned tooling purchases.
Check the usable dimensions of each storage position. A system with enough slots may still be unsuitable for tall punches or wide dies.
Group commonly used tools by job or machine. This can make your changeover sequence easier to organize.
Confirm the maximum permitted load for each storage position. Also check the system’s total rated capacity.
The storage limit and transfer limit may differ. Ask your supplier to specify the permitted weight and dimensions for each handling movement.
Provide the heaviest tool, longest segment, and largest profile. Include any holder or accessory moved together with the tool.
Request dimensional drawings and written load specifications for the exact configuration. Do not select a system using a slot count or headline load figure alone.
A tool may fit inside the storage system but still be difficult to transfer into your press brake. Check the complete path from the storage position to the clamp or die holder.
Provide your machine model, tooling interface, and clamping arrangement. Include photographs and dimensions of the punch tangs, die bases, and adapters.
Confirm whether your tools require side loading, vertical loading, or another method. Ask how tools are supported and retained during transfer.
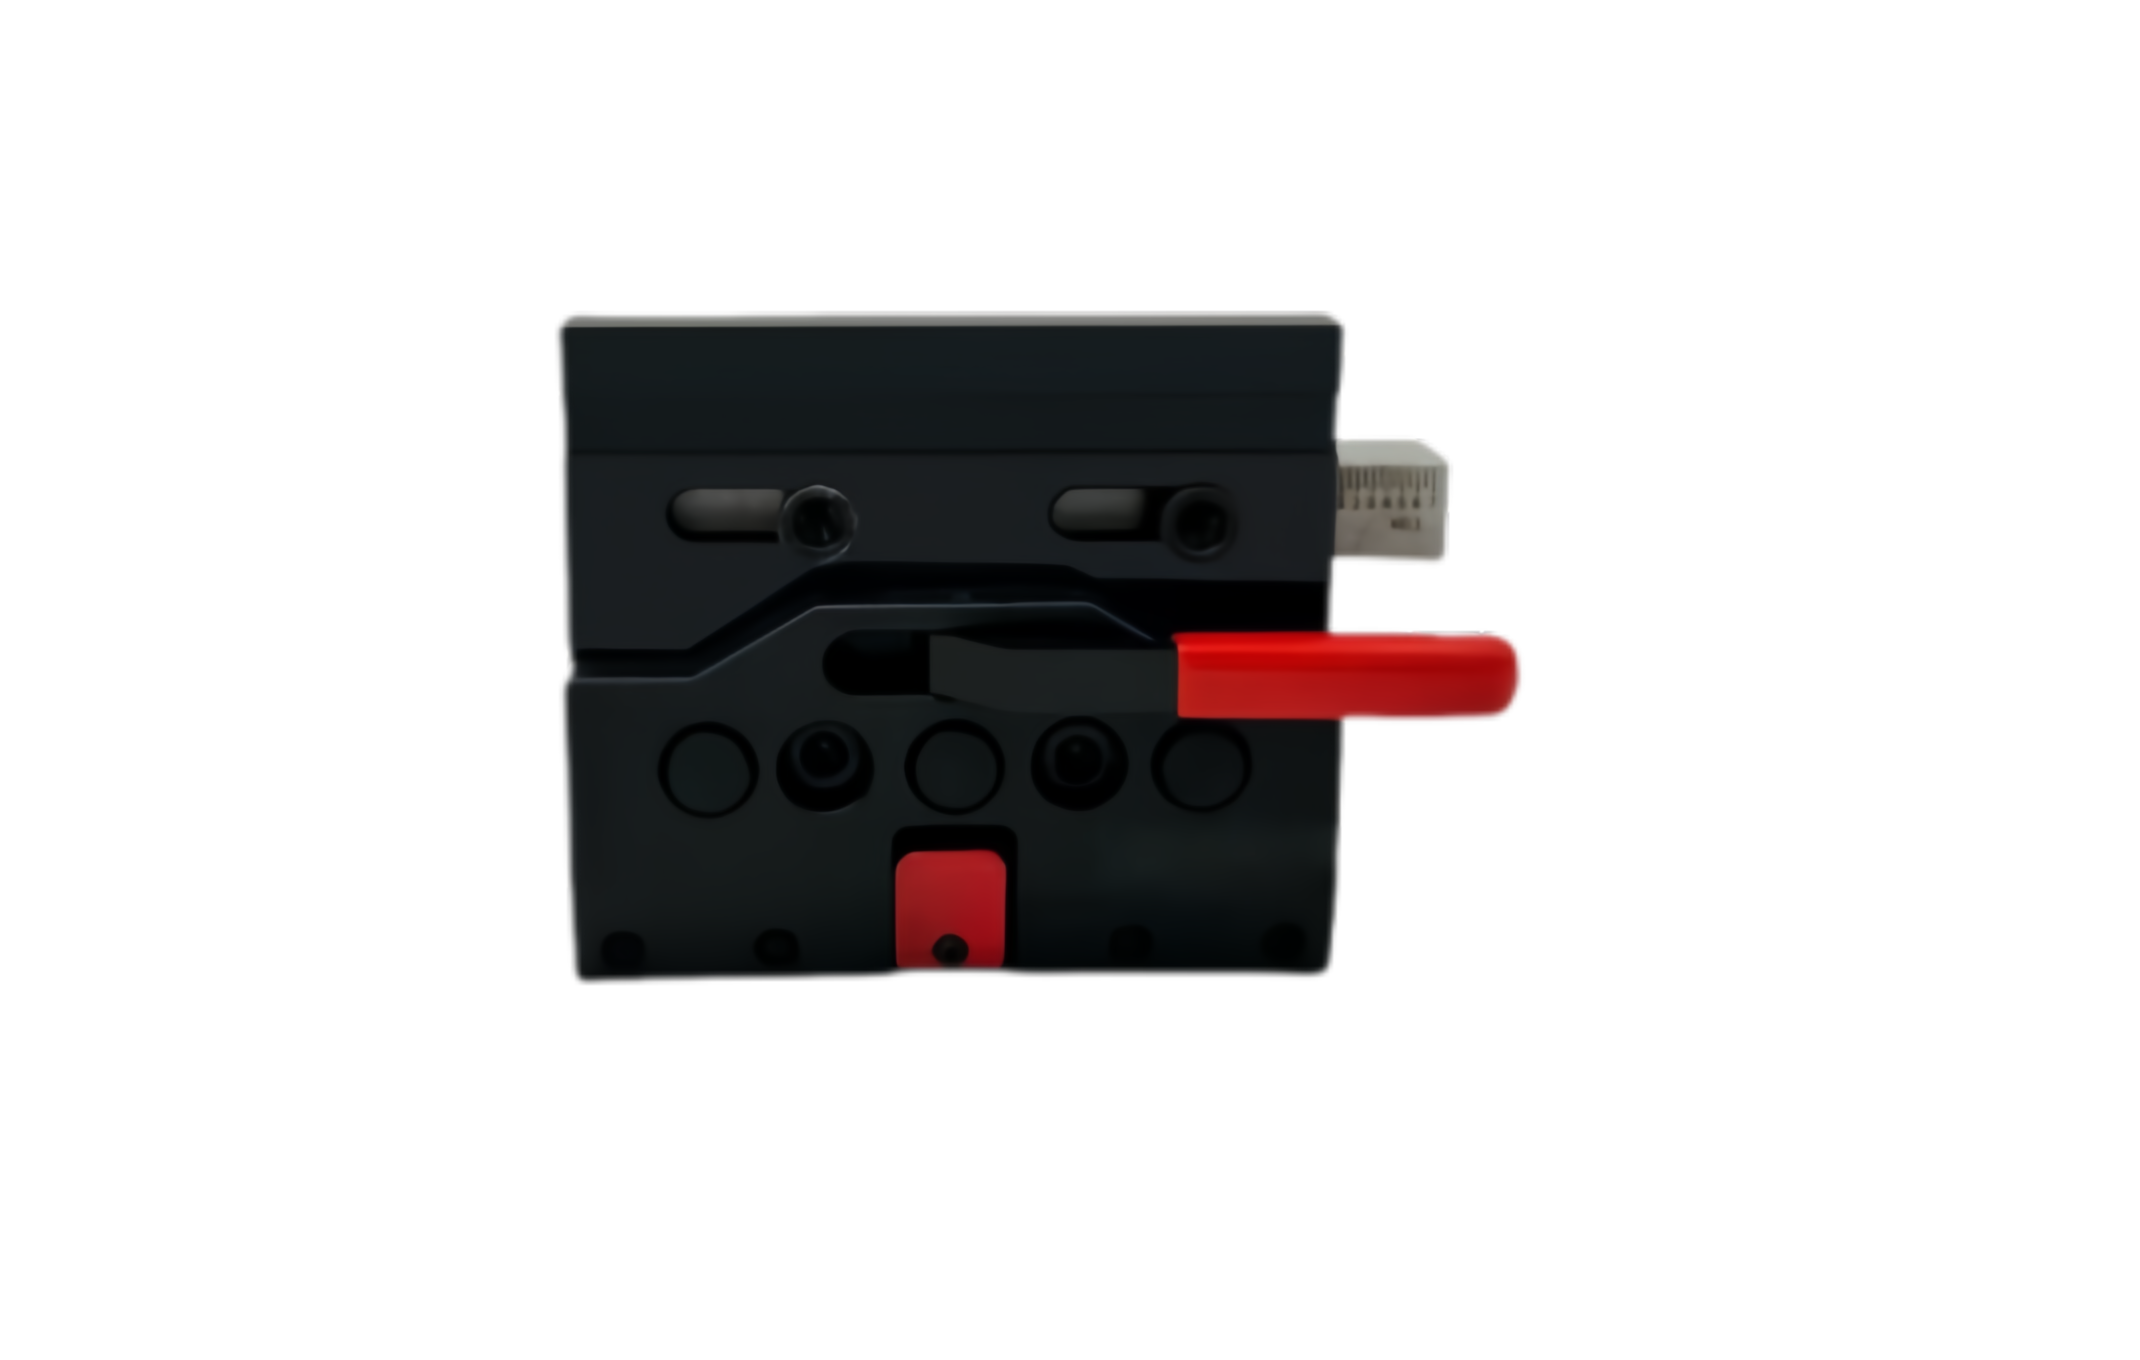
Review press brake quick clamps alongside the storage system when planning your setup. Confirm the compatibility of your actual clamp and tooling combination.
Measure the height from the finished floor to the relevant tooling and clamping reference points. Ask your supplier to identify the exact measurement points first.
Check the transfer direction, cabinet position, and floor condition. Include space for operators, service access, and tooling changes.
Provide front and side photographs with marked dimensions. Your supplier can then review alignment before preparing the installation layout.
If the system serves more than one machine, check each machine separately. Working heights and clamping arrangements may differ.
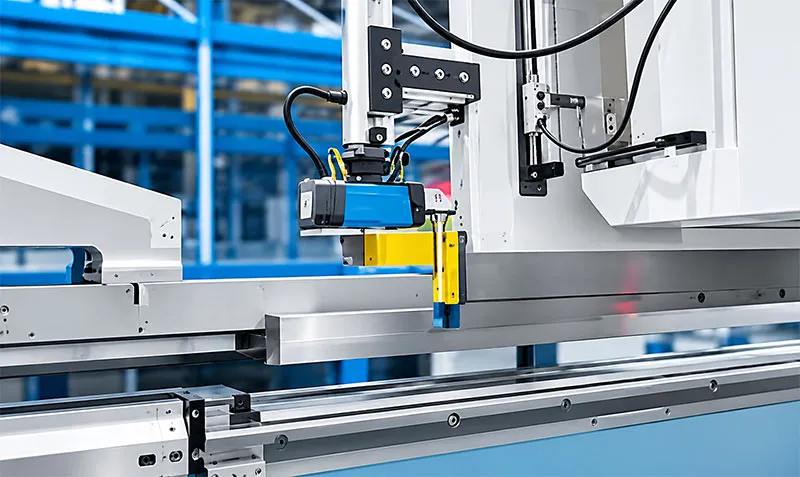
Before comparing quotations, list every movement in a typical changeover. Identify which tasks are assisted and which remain manual.
Changeover Task | What to Confirm |
Tool identification | How the operator finds the correct tool and segment |
Storage retrieval | Whether retrieval is manual or assisted |
Positioning | How the tool or platform aligns with the machine |
Transfer | Which movement is assisted and how the tool is retained |
Clamping | Who operates the clamp and how tool seating is checked |
Return to storage | How used tools are cleaned, identified, and returned |
Ask suppliers to describe these steps for the quoted configuration. This makes it easier to compare systems with different levels of assistance.
Record a representative changeover before installing the system. Separate tool searching, handling, positioning, clamping, and first-part checking.
After installation, repeat the same job using the same tooling and team size. Compare the results under similar production conditions.
You can also record handling effort, tool damage, and missing segments. These observations help you assess the system beyond time savings.
Use measured results when calculating the value of your investment. Actual savings depend on your tooling range and production schedule.
Agree on representative tools and acceptance criteria before delivery. Include your heaviest, longest, and most frequently used tools where practical.
During testing, check:
Tool fit and identification in the assigned storage positions.
Retrieval and transfer using the quoted assistance functions.
Alignment with the press brake, clamp, and die holder.
Tool support and retention throughout the agreed sequence.
Operator access and available working space.
Handover of operating, inspection, and maintenance instructions.
Record any limitations and agreed settings. Confirm who is responsible for installation, commissioning, and operator training.
It means the system assists selected movements while the operator performs other tasks. The exact division depends on the system configuration.
Ask the supplier to demonstrate the complete changeover process.
It may be possible, subject to tool dimensions, weight, and interface compatibility. Provide drawings or measurements of your punches, dies, and holders.
Not necessarily. The permitted load can depend on the storage position and handling movement.
Request both ratings for the exact configuration.
This depends on the system design, machine layout, and tooling interfaces. Check alignment, access, and transfer arrangements for every machine.
Start with your current tooling inventory and planned purchases. Check usable slot dimensions as well as the total number of positions.
It can help when searching and handling are significant parts of your changeover. Measure the same representative job before and after installation to establish the actual result.
Send MIHARTING Tooling your tooling inventory, heaviest tool dimensions, and press brake layout. Request a review of storage capacity, transfer assistance, and machine compatibility for your workshop.
Request a Tool Storage Assessment
 How CNC Crowning Systems Work with Delem DA-66T & CybelecSeptember 21, 2026Learn how CNC press brake crowning systems integrate with Delem DA-66T and Cybelec controllers to automatically compensate machine deflection and improve bend angle accuracy.view
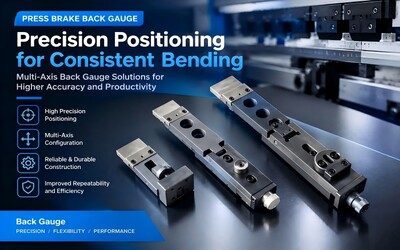 Press Brake Back Gauge Calibration: 7 Signs Your Positioning System Needs AdjustmentSeptember 18, 2026A press brake may produce the correct bend angle while still delivering inconsistent flange dimensions from one part to the next. In many cases, the problem is not the bending force or the tooling its...view
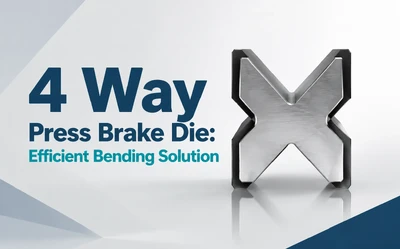 4 Way Press Brake Die: An Efficient Production SolutionJuly 14, 2026A 4 way press brake die, also known as a 4 way die, four-sided die, or multi V lower die, integrates multiple V openings into one die body. It can effectively reduce die changeover time, lower tooling costs, and improve bending flexibility.view
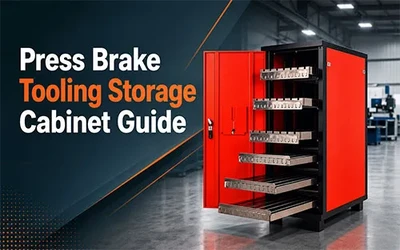 Press Brake Tooling Storage Cabinet Guide: Layout, Safety and ROI for Fabrication ShopsJuly 28, 2026Press brake tooling is precision production equipment, yet many factories store it as if it were ordinary steel stock. Punches are leaned against walls, short segments are mixed in open bins, dies are...view
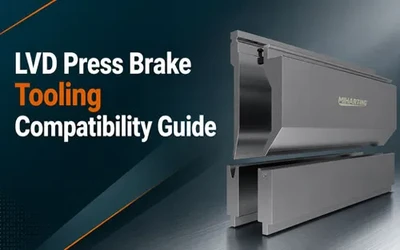 LVD Press Brake Tooling Compatibility Guide: Clamping, Segmentation and Upgrade DecisionsJuly 28, 2026An LVD press brake can remain productive for many years, but tooling decisions become more complicated when a factory adds new materials, inherits mixed tool sets, changes clamping systems or buys rep...view
 Golden Rules of Press Brake OperationJanuary 8, 2026Operating a press brake efficiently and safely requires expertise, vigilance, and adherence to best practices. As essential machinery in the realm of sheet metal fabrication, press brakes shape and fo...view