EN
 fr
 de
 es
 it
 ru
 pt
 ar
 pl

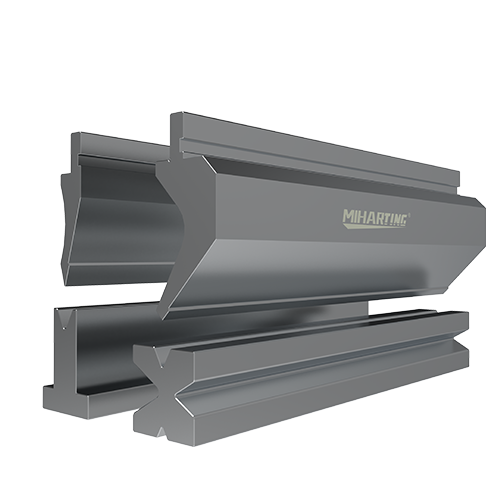
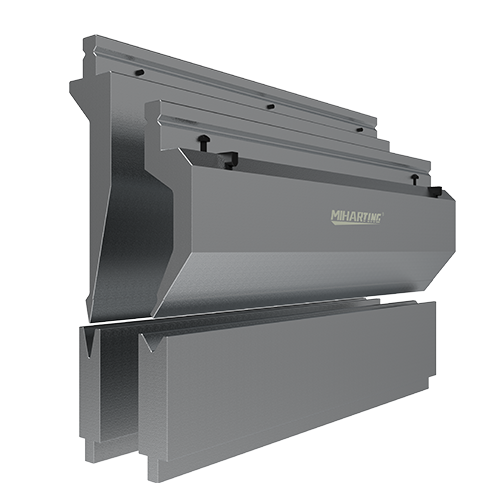
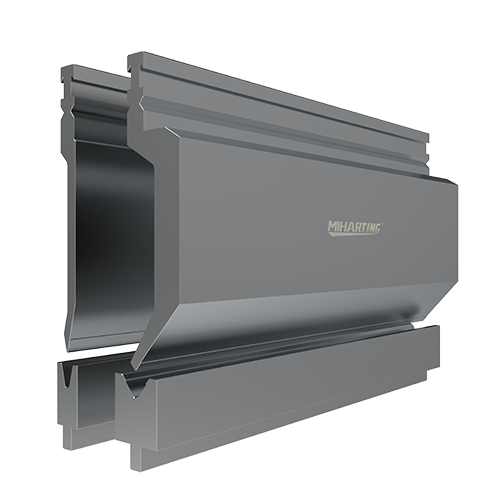
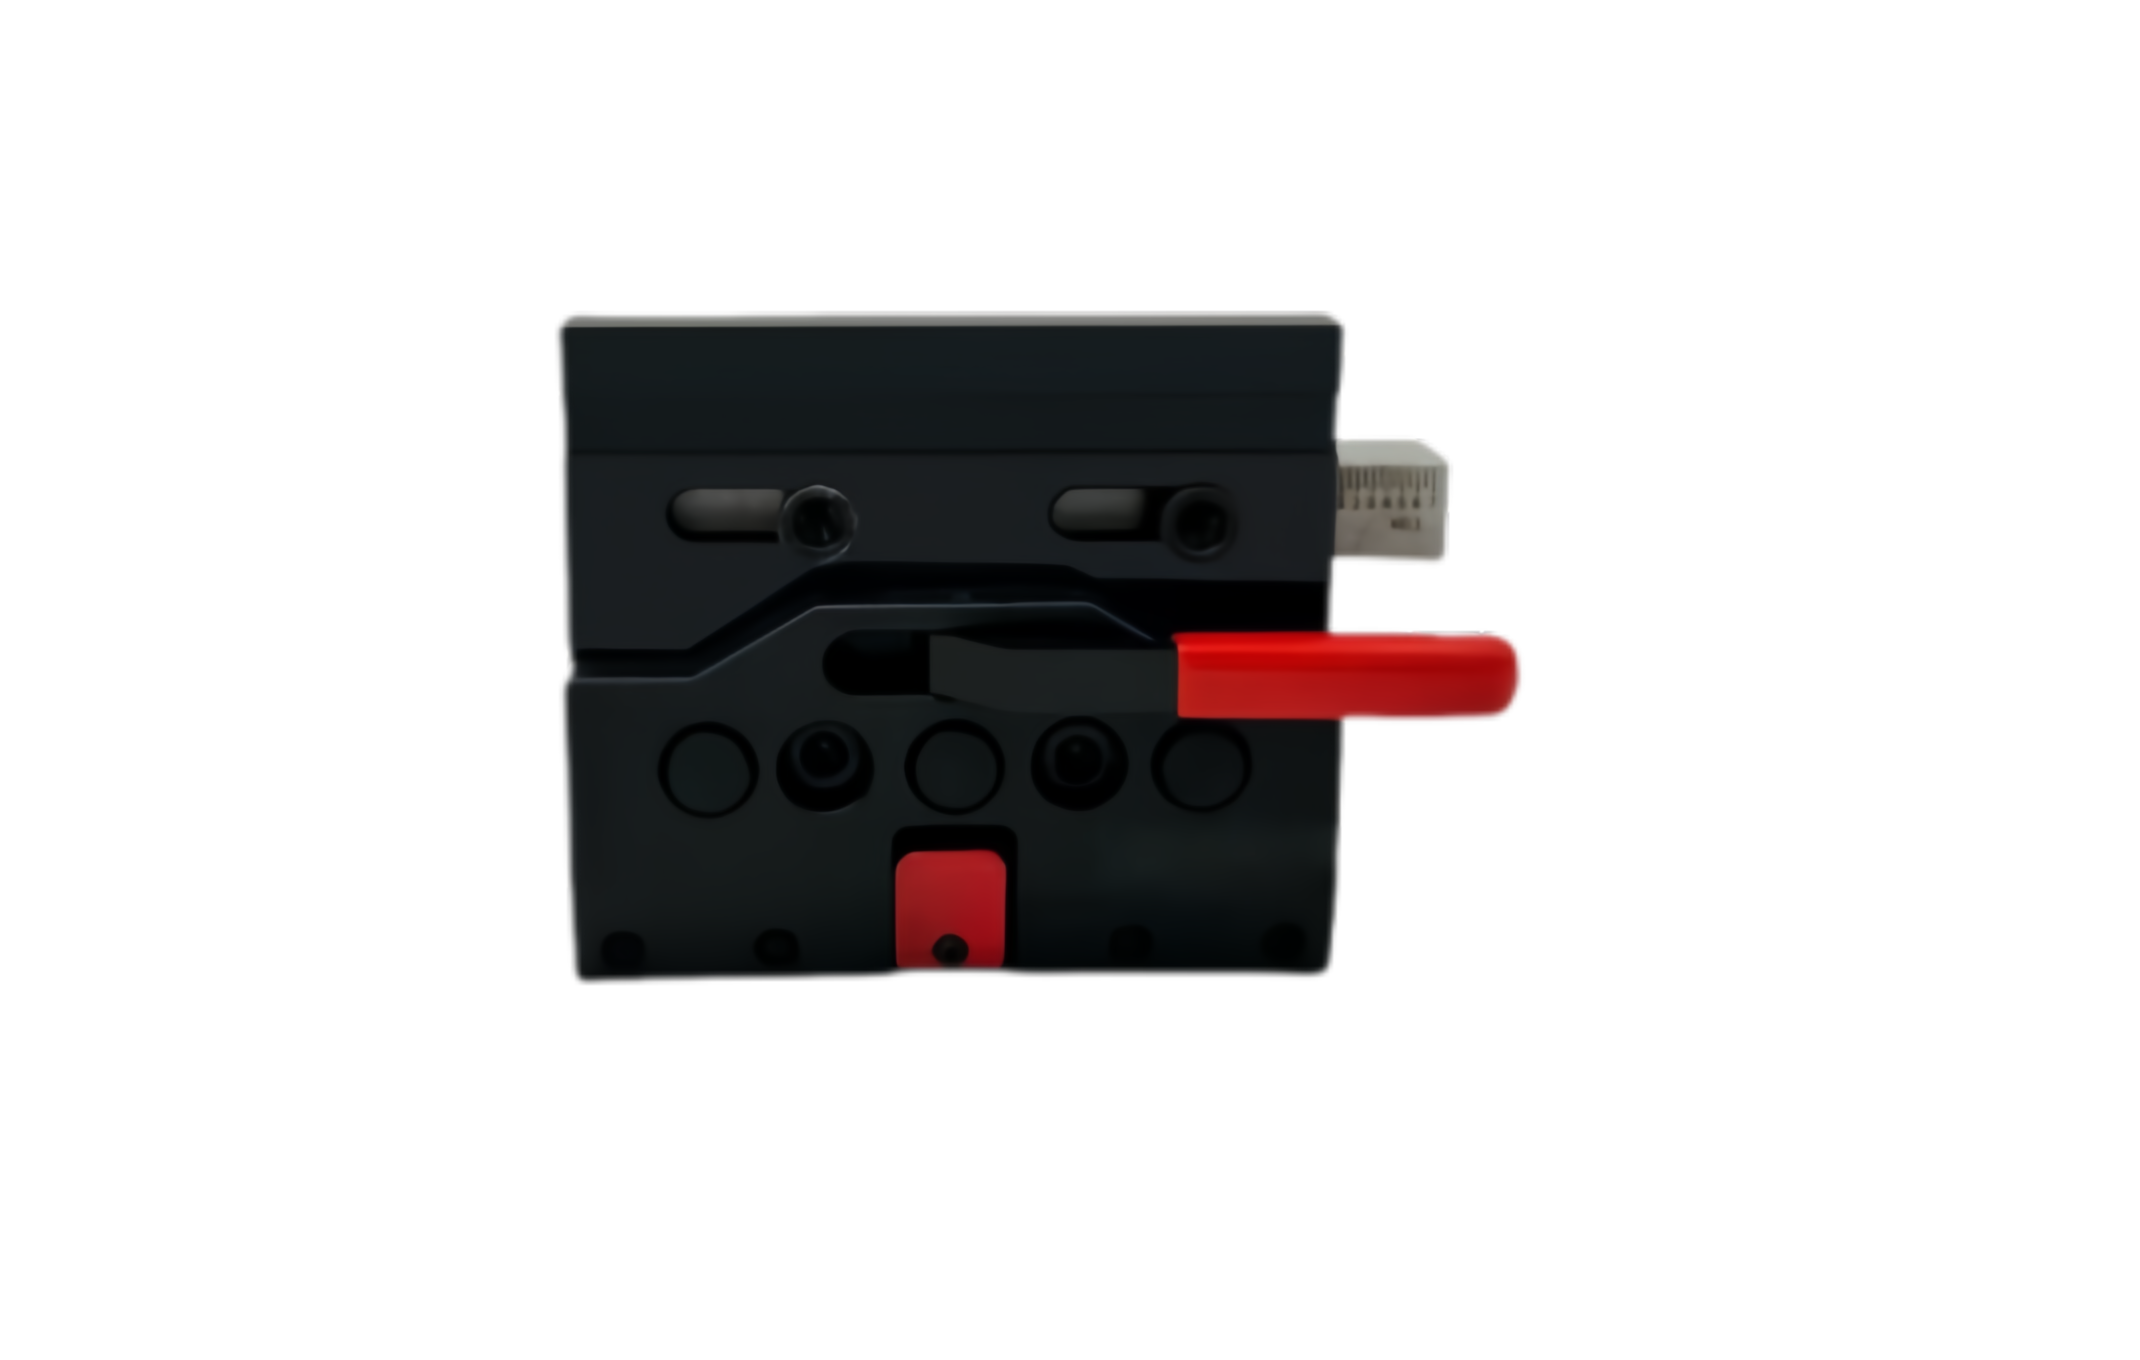
Correct engagement between your top tool and quick clamp helps support consistent positioning and secure tooling. Before installation, check the actual tool tang, holder, locating surfaces, and retention features.
This guide focuses on top-tool engagement. The exact loading and clamping sequence depends on your tooling and holder configuration.
A compatible top tool is introduced into the holder using the approved loading method. Its locating surfaces are positioned against the holder, and the clamp is then operated according to the manufacturer’s instructions.
Retention and final clamping are separate checks. Confirm both for your exact tool and holder before production.
“WILA-style” describes a tooling family, but it does not confirm every detail of your installation.
Your press brake may use a different holder generation, an adapter, or third-party tooling. Tang geometry, retention features, tool weight, and permitted loading methods can vary.
Record the actual tool and holder identification before ordering. Ask your supplier to confirm compatibility using dimensions and photographs.
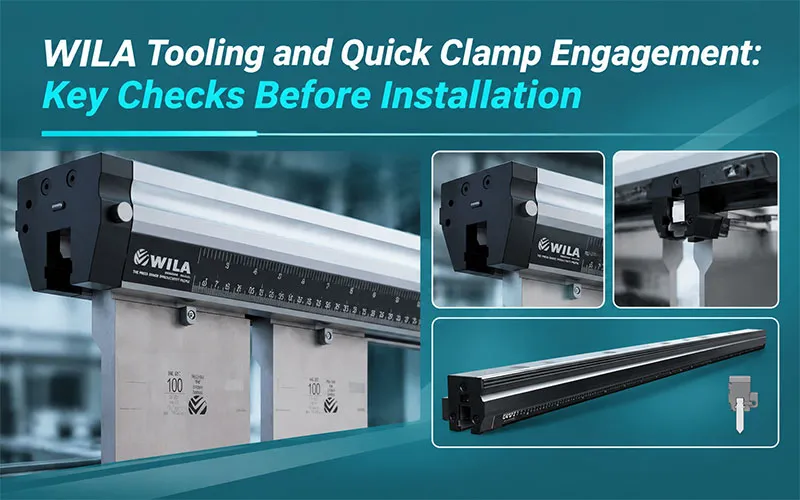
The following sequence helps you identify the main contact points. It is a review framework, not an operating procedure for every clamp.
Stage | What Happens | What You Should Confirm |
1. Tool introduction | The top tool enters the holder by the approved route. | Is side loading or vertical loading permitted for this exact combination? |
2. Tool location | The tool is positioned relative to the holder’s locating surfaces. | Are the correct surfaces clean, undamaged, and properly aligned? |
3. Retention | The applicable retention feature is checked where the system requires one. | Does the specified feature match the tool and holder? |
4. Final clamping | The clamp applies the intended holding force. | Has the clamp reached its specified operating condition? |
5. Verification | The complete setup is checked before production. | Is the tool seated and clamped according to the manufacturer’s instructions? |
The order and mechanism can differ between systems. Follow the machine, tool, and clamp instructions for your configuration.
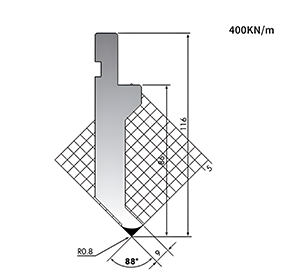
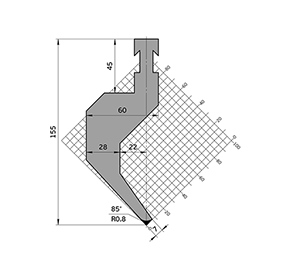
The tang is the part of the top tool that interfaces with the holder. Its shape and dimensions must match the intended clamping system.
Photograph the end profile of your existing tool and holder. Include any visible steps, grooves, and contact surfaces.
Measure the required features using reference points agreed with your supplier. A photograph helps identification, but it does not replace a dimensional check.
Do not rely on a machine model or one tang dimension alone. Confirm the complete interface and any installed adapter.
Review our WILA-style press brake tooling and confirm the interface before ordering.
Locating surfaces influence how the top tool sits in the holder. Dirt, damage, or incorrect geometry can prevent proper contact.
Before installation, inspect the relevant surfaces under your normal maintenance procedure. Look for contamination, burrs, dents, or visible damage.
Check the complete tool length and each segment. An unevenly seated section may affect alignment and bending consistency.
If the tool does not seat as specified, stop and investigate. Do not force it into the holder or compensate by changing the bending program.
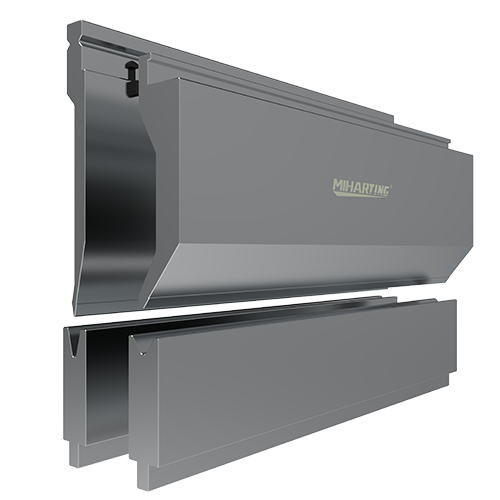
A retention feature may be designed to hold a compatible tool during an approved loading process. Its presence does not automatically mean final clamping is complete.
WILA describes Safety-Click® as a feature used with specific New Standard tooling. Its catalogue also lists different retention or handling features for different tool configurations. WILA
Check the actual feature and its intended function. Do not assume that a groove, button, or pin has the same purpose on every tool.
Never remove or modify a retention feature to make a tool fit. If compatibility is uncertain, ask the tool and holder suppliers for written confirmation.
Final clamping depends on the holder design. The system may use manual, hydraulic, or pneumatic clamping.
Compare press brake quick clamps for your existing tooling and holder configuration
WILA’s product information distinguishes these options across its holder range. The required checks and operating conditions must come from the manual for your exact model. Grow your business with WILA
Confirm:
The correct clamp and tool combination.
The specified operating condition for the clamp.
Seating and clamping across the required tool length.
The applicable machine and tooling load limits.
The approved procedure for inspection and release.
A tool that appears aligned is not automatically confirmed as correctly clamped. Follow the specified verification process before production.
No. Vertical loading depends on the tool, retention feature, holder, tool weight, and the approved procedure.
For example, WILA’s catalogue identifies vertical loading for certain tooling configurations with the specified safety features. That statement should not be extended to every WILA-style or third-party product.
Confirm the permitted loading direction for your exact combination. Heavy tools may require a different handling method.
A complete enquiry helps your supplier review the interface before manufacturing.
Information | What to Provide |
Machine | Manufacturer, model, and working length |
Holder or clamp | Manufacturer, model, clamping type, and photos |
Adapter | Photos and dimensions, if fitted |
Existing tool | End profile, complete side profile, markings, and segment lengths |
Interface dimensions | Marked measurements with reference points and units |
Retention feature | Clear photos and available manufacturer information |
Application | Material, thickness, bend length, part drawing, and load requirements |
Required tooling | Punch profile, height, angle, radius, and quantity |
If you cannot identify a feature, mark it as “function to be confirmed.” Ask for a drawing or written compatibility review before ordering.
No. Check the exact tool interface, holder model, retention features, dimensions, and load requirements.
No. A retention feature and final clamping have different functions. Follow the instructions for your specific tool and holder.
Photos can help identify the interface and reveal missing information. Critical dimensions, operating conditions, and load requirements still need confirmation.
Possible causes include contamination, damage, incorrect interface geometry, or a holder issue. Stop the setup and inspect according to the manufacturer’s procedure.
Some compatibility checks are similar, but operating conditions and verification procedures can differ. Use the instructions for the installed clamp.
Send MIHARTING Tooling your tool and clamp photos, marked dimensions, and machine details. We can review the interface and discuss a suitable tooling or clamping solution for your application.
Request a Tooling Compatibility Check
 How to Choose a Press Brake Sheet Follower for Your WorkshopOctober 9, 2026Large panels can become difficult to support as they rise during bending. Choose a press brake sheet follower around your parts, load distribution, working height, and machine compatibility.view
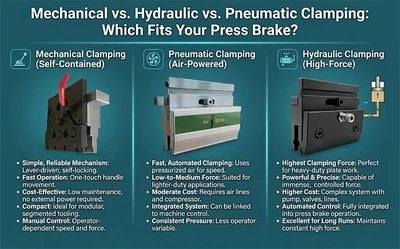 Mechanical vs. Hydraulic vs. Pneumatic Clamping: Which Fits Your Press Brake?September 8, 2026Choosing a press brake quick clamping system is not simply about finding the fastest option.Mechanical, pneumatic and hydraulic clamping systems each have different advantages.The right choice depends on your tooling, production volume, tool-change frequency and machine configuration.view
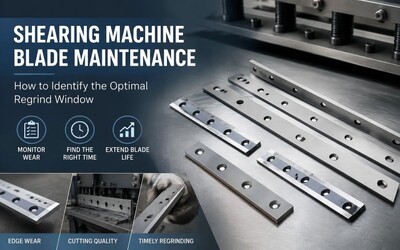 Shearing Machine Blade Maintenance: How to Identify the Optimal Regrind WindowSeptember 14, 2026The optimal regrind window for a shearing machine blade is the point where wear has started to reduce cutting performance but the blade still has enough material remaining for effective restoration. R...view
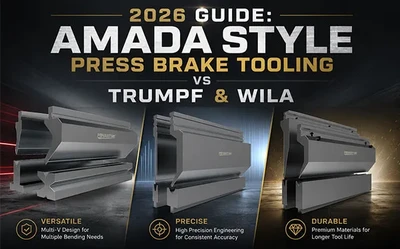 2026 Guide: Amada Style Press Brake Tooling vs Trumpf & WilaMay 26, 2026In this guide, we will focus on analyzing the advantages of Amada press brake tooling and compare it with its competitors.view
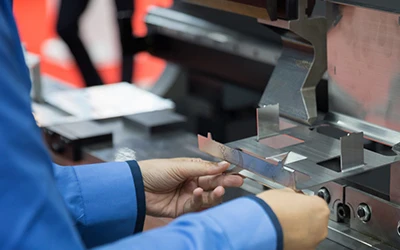 Press Brake Tooling: Releasing the Brake for AerospaceJuly 25, 2025Why Aerospace Manufacturing Demands Next-Generation Press BrakesThe aerospace industry operates on razor-thin tolerances where a 0.1mm deviation can compromise entire assemblies.view
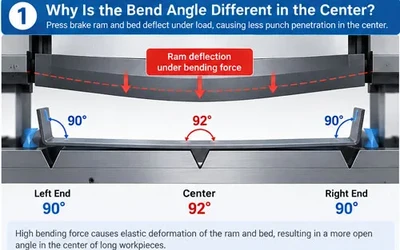 Understanding Press Brake Crowning: Hydraulic vs. CNC Mechanical SystemsSeptember 14, 2026You bend a 3- or 4-meter sheet on a press brake.The left end measures 90°.The right end measures 90°.But the center measures 91° or 92°.The first reaction is often to adjust the Y-axis or blame th...view